Showing posts with label Illumination. Show all posts

Sunday, July 5, 2015

Nesting Ideas for an Organized Beautiful (Medieval & Elven Inspired) House, Making my home like Rivendell.

If I could build my dream house, it would look like a cross between Rivendell and Beorn's house, as described in the books.
This makes me think of Beorn's house. Wood and stone. picture credit: Little Moreton Hall.
Another one that reminds me of Beorns house. Picture credit here.
Not the movie version of Rivendell. Art Noveau is cool and all, especially for jewelry and lanterns, but as a house, its not homey to me.

The movie Rivendell: Beautiful but not homey...

even if you cross it with a Thomas Kinkade painting....

And Rivendell, is, after all, described as the "last homely house."
In the book, its described as white plaster with dark beams, as Frodo is waking up, being healed. This was always reminiscent to be of an infirmary in a medieval monastery, on holy ground safe from your enemies at the gate, a place of peace and healing.


picture credit here.
But it also was full of elves climbing trees and singing, and a long table with a feast, and a big hall with a fire in it, where the elves sung ballads in after dinner. This made me think of Medieval halls.
picture credit here. Ignore the tourists clothes, and focus on the firelight.

White plaster with the dark beams, and tall high latticed windows, long tables, and fires and singing. Kind of like an old English Church, or a Medieval Great Hall.

Vaulted ceiling like this, but no dark paneling or museum-feel. It would be crammed with elves and a big fireplace, and harps and all that. Picture credit here.
Like this, but bigger and less wood, not as dark. The windows would be bigger with more trees, strung with lanterns, to be seen out of them. picture credit here.

Something between the two of these, but with no dark wood paneling, and more white plaster reflecting the firelight. And taller windows. And more torches and lanterns and harps and all that.

Soooo, how do I mimic this in a two bedroom apartment?

High White Walls: I need white walls reflecting the light (I can't do dark colored walls, even pastels are a bit dark for me. I crave shades of white and beige at the darkest).


Dress up the Windows: with lattice-like cut out panels, etc, on posterboard, affixed to the windows.

I would make my knockoff panels from posterboard or something. Real thing from here at Acurio Lattice
 Lighting: Lots of warm lighting. I will scour thrift stores, and perhaps spend actual money at Hobby Lobby. And ofcouse make my knockoff Lantern-lamps. 


Inspirational Decorations:


Cutting Edge Stencils
from a talented artist on etsy for sale here.


Keep the walls bare except for---

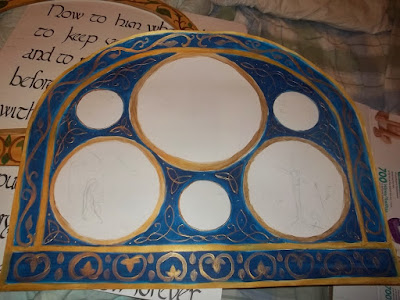
  • Big icon paintings/Medieval Illuminations high up on the walls. 
  • Beautiful Weapons & Banners: mount the kid's medieval shields and spears HIGH UP on the walls like decorations. Also, the banners. I have one of a lion that my mother in law made. I want to make more with Elven themes as well. Its a way to surround the kids with beauty that they can't destroy. 
  • Elven Art: Simple black-and-white line drawings of runes and trees like the gates of Moriah. I am going to make a simplified version of the gates of Moriah on a posterboard, and I have a piece with trees and runes on it made by my aforementioned elvish sister-in-law.
  • Elven Smithing. Anything that looks like metal wrought leaves, or something elven smiths would make. I've already got 2 pieces, one as a Christmas present from my elvish sister-in-law, and one I found at a thrift store.
 
Some things I have...
Some things I have
I want my house to be laid out like a medieval house--which is the largest room will be communal, a focus on being together as a family.

Kitchen & bedrooms will be smaller and functional--that is really just for eating, sleeping, and getting dressed (or for introverts to flee when the need arises).

One room will be set aside as a chapel (perhaps also kind of a library as well, it will be kind of like a Beit Midrash, but the Christian version) Then the most space will be devoted to the Great Hall---a kind of combined dining/living room. Where we eat, do homeschool, read, and just hang out. I have observed that my family likes to clump, that is, even if we aren't actually talking or interacting, we like to hang out in one room together, all doing our own things. A kind of companionable presence.
There is also the "solar" which was the hangout for the family of the manor/castle. My current idea is just to collapse the Great Hall and the Solar, since we dont' have servants we're trying to hide from. And also because I'm going to be implementing this in a 2 bedroom apartment.


Master Bedroom: (with baby gate) Mom and Dad's bed, Mom and Dad's clothes, pack n play for babies under 6 months old.
Non-child-proof things: Bookshelves of art supplies & Legos. Sewing machine (& sewing supplies) corner and Computer(s). Work-table for art, sewing, etc.

Master Bathroom: (behind the Master Bedroom's baby gate) Dangerous things. Diaper pail. All makeup, cleaners, and medicines (child locked cabinets, or even better, high cabinets/shelves). Diaper changing table if it fits. Laundry hampers.

Kid's Bathroom: Bare essentials for kid usage, as this is the bathroom they will have free access to. A rack of books to read in the bathroom, footstools, potty chair, and potty seats.

Kid's Bedroom: Clothes all in the closet on cubicle-shelves and hanging up. (no dressers). Out of season clothes in tubs in the closet. Maybe some spice racks down low to put books in, or a couple toy boxes and a low bookshelf, but keep the floor as open and clear as possible. A crib (for babies 6-15  months) and sleeping mats/bedrolls which are stored in the crib during the day, and unroll at night.
A wall-mounted night light and music player, to play chant and worship music during the night.I will somehow have to secure the wires behind a banner screwed to the wall (through rivets), to keep the nightlight and the electronics out of kids reach.
The walls will be mostly open, except for icon paintings, kid's toy weapon racks with shields, and banners.
There will also be hat & shoe racks/shelves by the door.
The goal is to keep the floorspace as open as possible, to allow for play during the day, only needed to roll beds and bedding out during the night.


Linen closet: Out of Season blankets, sheets, towels, rags, baby blankets, camping chuck box etc.

Great Hall/Solar: A large wood table on one end, with benches (so much easier to cram little people in. I will need to start scouring thrift stores for benches...). A crucifix high up above the table. This is where we will eat, study, paint, and do things. On the other end there will be a couch, and most of the toy boxes.
The walls will have my elven lanterns (for the boy's room nightlight, as the couch will be doubling as a bedroom for Isaiah and any other  boys the Lord sends us). There will be the main music player up high with our CD collection so there will be music at all times. One corner will have a crucifix & Icon Set & bookshelves to be the chapel corner (maybe have a painted posterboard stained glass window??), but we'll probably do most of our family prayer stuff at the table.
I haven't figured out yet if this room's decor will be mostly Elven Art & Smithing, or Medieval weaponry. (There will be Medieval Icons)

Kitchen: Small and functional, hopefully with a gate across it somehow.

Chapel & Library: No space here, so I will dedicate a corner of the Great Hall.

Hall by the Door: Shelves and hooks for hats, shoes (2 pairs per kid), and coats.

Monday, September 22, 2014

Making My Room Like Rivendell part 3: Thoughts on Making Elven Banners


I must make this. applique trees and leaves etc (w/ heat n bond, I have no shame. The elves probably had cool stuff) maybe outlined in silver stem stitch? Definitely do the scrollwork with couched silver cord.


Just looked up some more pictures. They totally used paint. Guess that's medieval enough. I guess I will too. Def not puff paint though....

Definitely paint there....

Ok, so just looked at these helpful links of other fellow banner makers on alleyscratch

After looking at various recreations, I realized my favorites were ones done on a sort of matte fabric surface, they somehow looked less costumey to me than the ones done on satin (perhaps this is all the fault of flash camera...)

This was my favorite
Arwen's Banner by Sidhe on Alleyscratch
 Which was done completely with paint on fabric. She did it for her wedding decor, and afterwards hung it up in their room, which I thought was very cool.....

Then there was this one, done with heat n bond and lame applique, and details in a silver paint pen.
Elvish Banner by Sarah (Aranel13) on Alleyscratch
I lover her speckled stars look, it just looks So. Incredibly. Awesome.

 This one's pretty cool too....
(Leah on Alleyscratch)

Done with fabric applique with fusible interfacing.

So I think I shall do fabric paint, with stars cut out of lame and appliqued. Because they are geometrical and easy to cut out :)


I remember than Joan of Arc referred to the making of her banner as hiring someone to "paint" her banner, so it must be authentic.

So paint, here I come....

(Although I know Arwen sewed Aragorn's standard....so there's that....maybe I'll embroider it a little bit....)

So I am planning to probably do a rendition of Arwen's banner.

Although make the trees more like the trees on the gates of Moriah....


And do it on a blue-black matte fabric, with speckled stars on it like Sarah Aranel13's elven banner above....

And a Gondor banner, ofcourse. I need a Gondor banner. I am planning to paint some sort of elaborate medievalish looking border on it, all in silver.
Some mix of the below designs....


I think Tolkien would approve.

Friday, January 24, 2014

Illustrating Children's Books: Some Analysis of the Greats

So I have been thinking about my woefully inadequate attempts at illustrating my children's books, and how I am going to learn how to paint. I decided I have to get an idea of what I am aiming for, and thus rounded up some of my favorite illustrators.

1. Beatrix Potter, whose pictures are somehow so full of wonder....
 
Evidently I am not alone, C.S. Lewis mentioned experiencing wonder from Beatrix Potter's illustrations as a child. There's so much beauty in them. Especially the misty backgrounds, you can feel the morning sun and mist. OK---So practical notes here. It appears to be line (ink?) drawings, on watercolor backgrounds, filled in with watercolor (and maybe gouache?).

2. Brian Wildsmith.
I love his use of color and gold illumination, it also filled me with wonder as a child, how everything in the picture meant something, how there were meaningful secrets tucked into the details of the pictures.

pix from this blog These are from "A Christmas Story" Isaiah's favorite


Note the gold illumiated window, with the cross-beams highlighted...and the position of Baby Jesus' arms as he learns how to walk....
He seems to be using pencil outlines, with watercolor and gouache to fill it out....

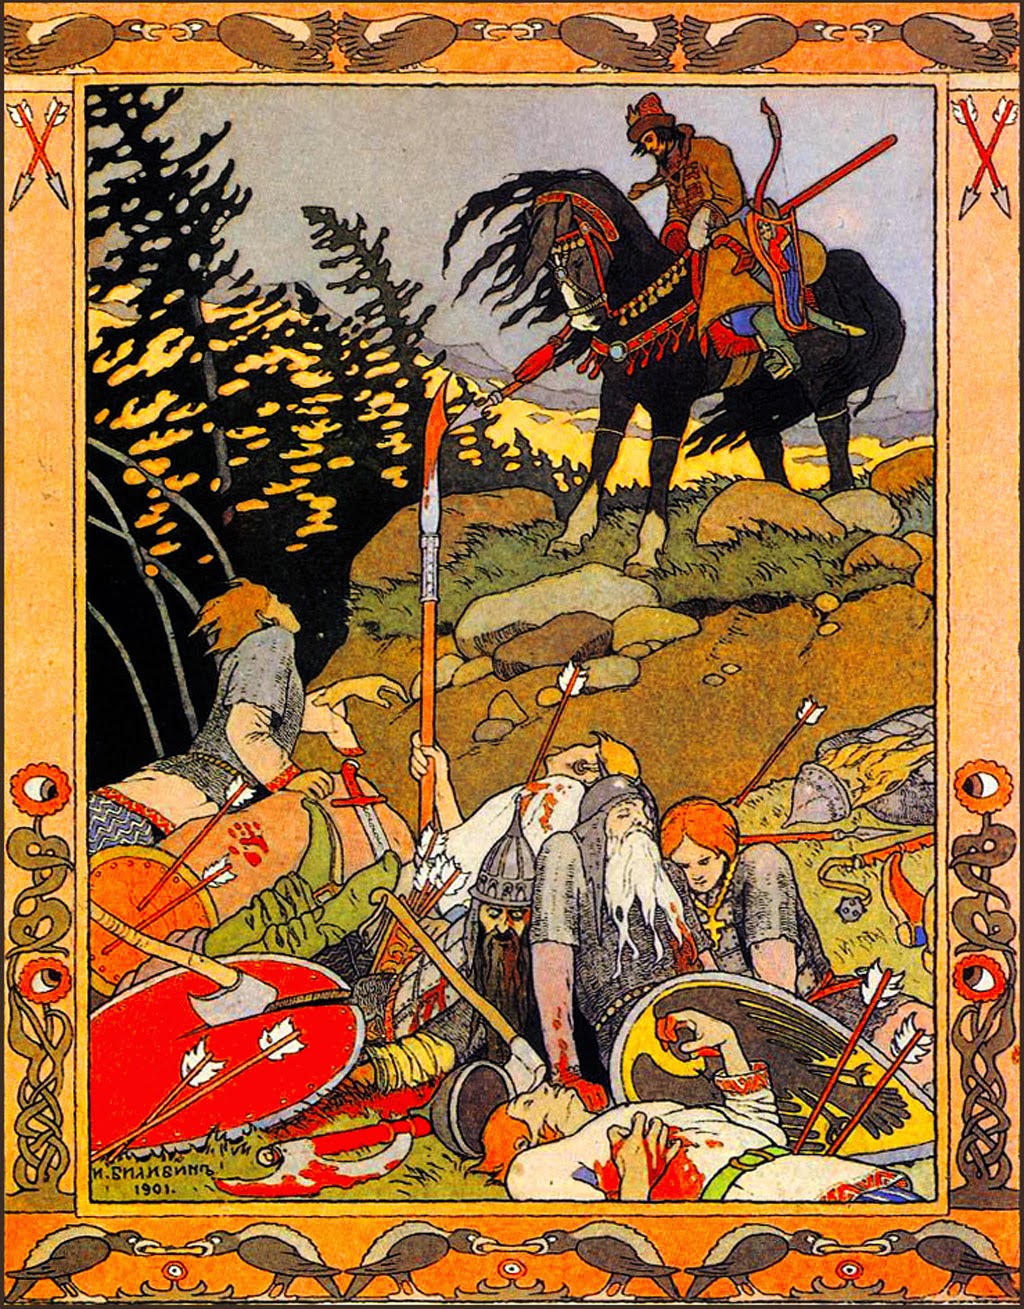
3. Ivan Bilibin
He's THE fairy tale illustrator.
Love his use of borders, of dark and light, and his superb line drawings.


Again, he seems to use line drawing (ink?) and fill it in with watercolor (or gouache??). His colors cut off more at the lines than Potter or Wildsmith.

4. Jenny Dolfen
And then there's this absolutely amazing artist my siblings found on the internet, "Gold-Seven" on deviantart, Jenny Dolfen. She draws the most amazing and heart-wrenching pictures of Hannibal's struggle against Rome. Her website is here. Her Tolkien illustrations are pretty amazing too, she is the only artist I have ever seen who really captures Gandalf. Check out her galleries, they are amazing.
She really  makes you care about Hannibal. From her website http://goldseven.wordpress.com/2013/10/18/crossing-the-alps/
She has a lot of helpful tutorials on her blog. She does line art, and then paints it in with watercolors. If I could be one third as good as her, I would be very happy indeed.


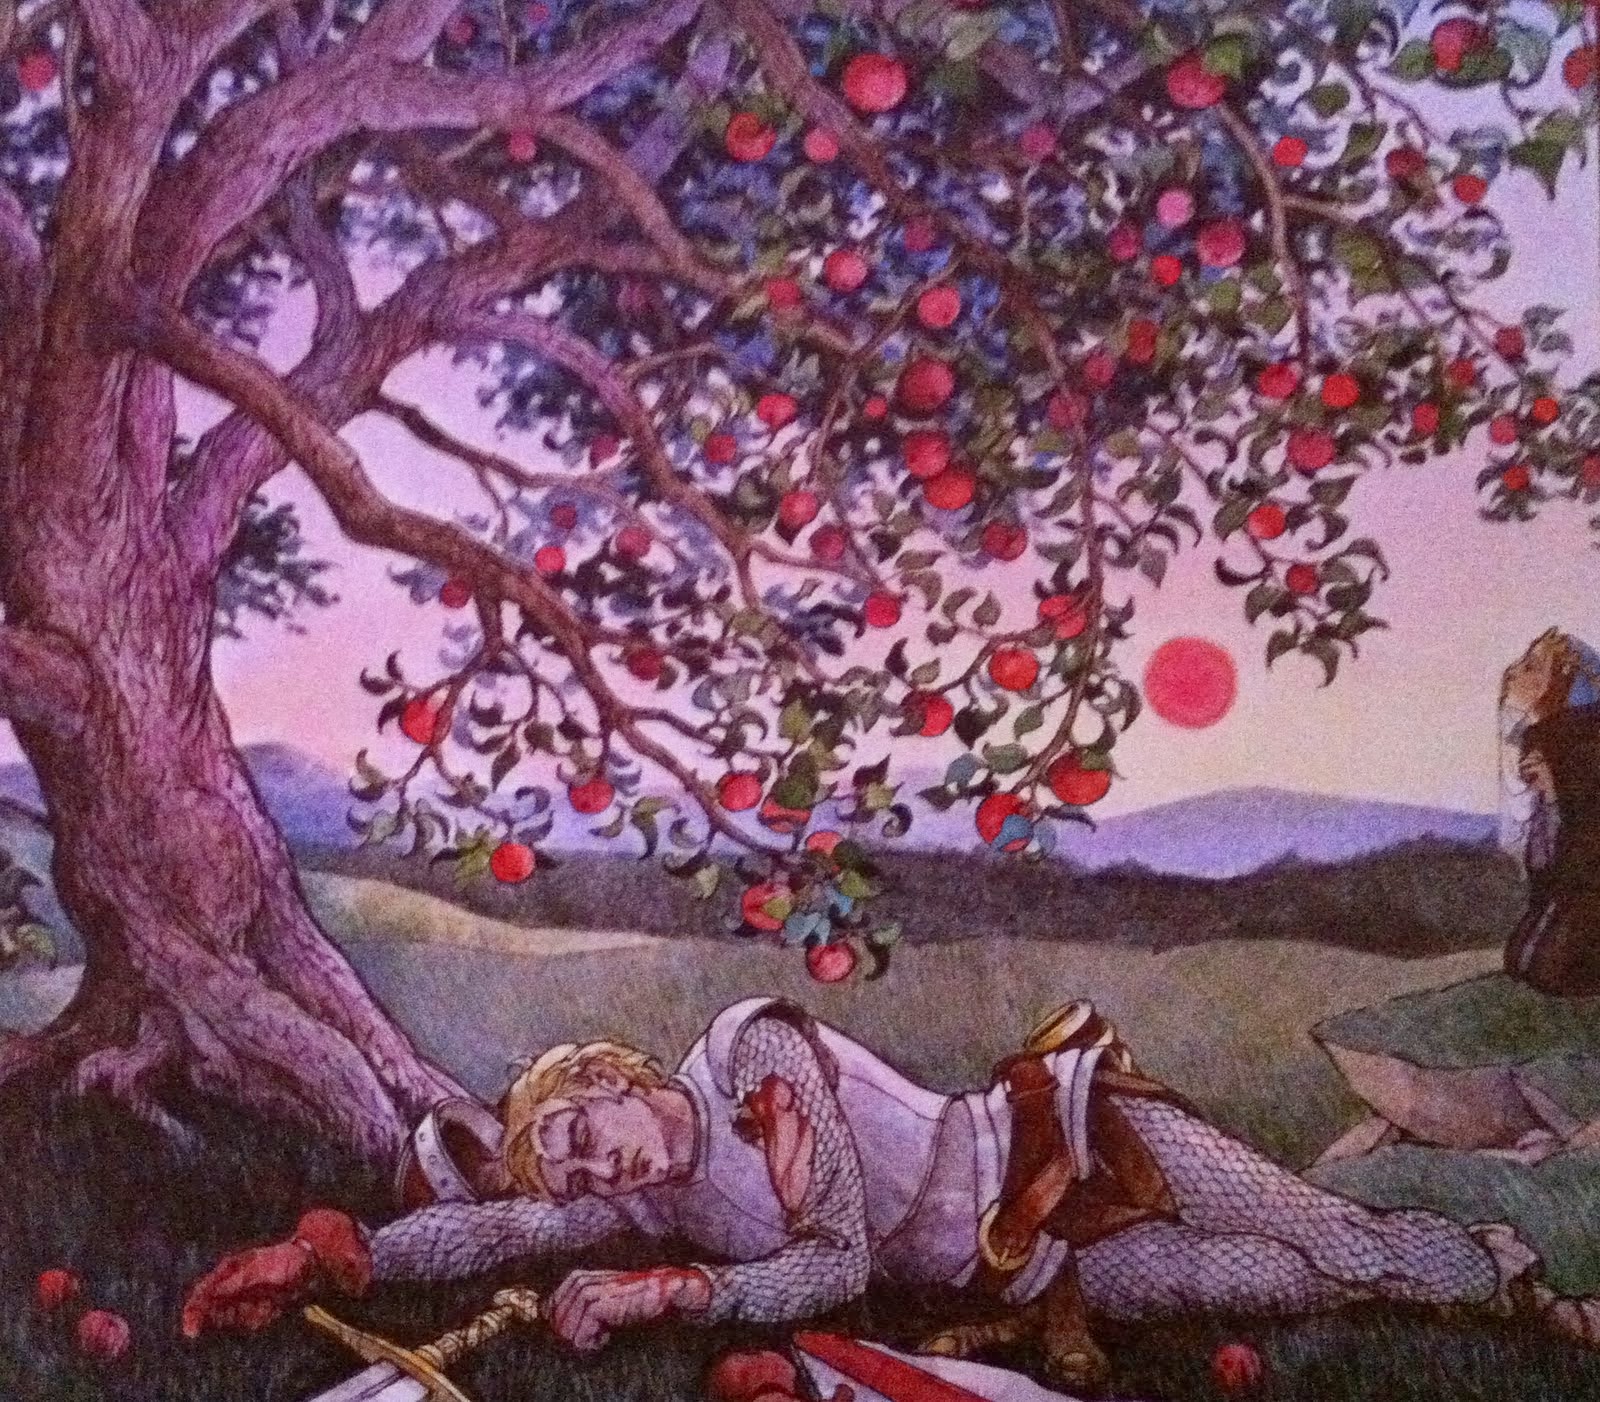
5. Trina Schart Hyman
I stumbled across her art as an adult.

Hyman seems to use extensive pencil line drawing (with shading and cross-hatching and all) that is then painted over. There's a lot more pencil than the other 4 illustrators we've looked at so far.
It's very fairy-tale-ish. For me, it has a little less wonder in it than Bilibin, Potter, and Dolfen....but I don't know if that's style or my mental associations with having people fleshed out with pencil so much. Watercolor seems to leave more up to the imagination somehow...


So in conclusion, the kind of illustration style that I really like is some form of line art (ink or pencil, but not too heavy) with watercolor and gouache.
Since the best way to learn from them is to copy them, like the apprentices of yore, one of my goals this year is to mimic them.
This year, I'm going to go over and analyze and try to copy in some small way each of these illustrators in turn. First I need to get one of those "Watercolor 101" type of books from the library.

Thursday, January 16, 2014

Elven Interior Decorating Continued : How to make Elven Lanterns (inspired by "Moroccan Lamps") out of Posterboard, tissue paper, and an electric candle


So here is my tutorial on DIY Elven lamps from posterboard, tissue paper, and an electric (Christmas Decor) candle.


"Moroccan Lamp" inspired Elven lanterns, from poster board and tissue paper. For really cheap.


So I had posted how much I loved Moroccan lanterns, how Elven they looked. I want to hang up a bunch throughout my house, the way the elves strung lanterns between the trees.
I alas, neither had the budget for that (cheapest lanterns, 15 bucks x 10....yeah..), nor the skill to make my own out of metal (and while I still hope to do that one day, adding up the cost of sheet metal and jeweler's saws and all, it still not be cheap)

I brainstormed a bit before, especially after seeing Helen Hiebert's Shadow Lantern, and then last night all the pieces came together.

And I made this. For cheap. Really really cheap. So now I can make 10 for under 10 bucks (not counting the electric candles. Check Christmas Clearance for those).


You will need:
  • White tissue paper (the kind you stuff gift bags with)
  • Scotch tape 
  • Double sided tape (optional)
  • Posterboard
  • Spray Paint
  • An electric candle, the kind that uses a 4 watt night light bulb. (Usually a Christmas Decoration)
The tools you will need are
  • Utility Knife
  • Cutting mat (can use a few layers of posterboard, or a large piece of scrapwood)
  • Pencil with eraser

  1. Posterboards usually come 22"x28", I used half a posterboard, cutting a piece about 11.5 x 22" and folding it into fourths (make sure they are nice and crisp folds as you can manage).
  2. Then I drew (or stencil) with the pencil the design onto each panel, leaving a 3/4-1" border on each panel for the edges.
  3. Here's the long part, cut out the cutouts with the utility knife. I've found cutting from non-shiny side to shiny side made for the cleanest cut. Not exactly sure why. Plug away, its worth it.
  4. Now spray paint the thing your color of choice. I did gold metallic spray paint. I'm going to try not spray painting it at all and trying a white-on-white look like lace. You could do black, and use colored tissue paper for a stained glass look.
  5. Tape tissue paper panels to the inside, using the scotch tape and the double sided tape.
  6. Tape it together, put the candle (no more than 4 watts! That's all I can vouch for. And you know fire risk and all that, make sure the electric candle is smack in the middle and not pushed up against any of the sides. If you want to use more wattage, then brainstorm for more fire resistant materials or something)
  7. Glory in your success....
See, make sure the bulb isn't pressed against an edge...