This is the Gondor (Inspired by Faramir's Ranger Hauberk) Mei Tai Baby Carrier I made for the Small Human Being Sew Along.

I am quite pleased, with how it turned out.


It's inspired by one of my favorite outfits of all time, Faramir's Ranger Hauberk. To make me feel just a bit more awesome in my everyday :)


Really though, seeing trees of Gondor makes me happy. Like I'm pretty sure it fires endorphin pathways in my brain whenever I see it. Thus I print/stencil them onto so many of the kids T-shirts...
[More pictures of finished product, front carry, shallow front carry, back carry]
Here is a helpful website how to wear this thing many different ways.
Time: Not counting time spent researching, I think about 8 hours from cutting the fabric to finishing the stenciling. I did an hour on a Sunday afternoon, Then used breakfast, second breakfast, and multiple snacktimes (when the kids were in their high chairs eating snacks, the sewing machine is set up in view of the kitchen and TV room), and an hours worth of Richard Scarry videos--- adding up all of those sessions, I think that part was about 5-6 hours total, which was the sewing.
Due to some mistakes, the stenciling/stamping took about 1.5 hours, which I did right after the kids went to bed. So all in all I think it took about 8 hours.
Materials:
A little less than 2 yards of light brown canvas, almost all of it dyed to be dark brown with 1 bottle of RIT dye (I mismeasured when I cut the fabric, it should have been 2)
Thread (and a size 18 sewing machine needle!)
Scraps of Fleece for padding
Cost:
The fabric I got at a fabric remnant store for $4, RIT dye $3, so about $7 (If I do this again I am just buying twill or canvas duck cloth from Hobby Lobby in the colors I already want, which will come out to about $12.)
I am not counting the cost of things I have in bulk on hand, that this project used a portion of.
That is: Fabric paint, hand-cut stencil, and thread.
Fabric paint: I bought a big bottle of it for $6 from Hobby Lobby and use it on T shirts
Stencil: Stencil blanks from Hobby Lobby that I cut out the Tree and Stars with a utility knife by hand, I use this stencil for T shirts, again and again.
Thread: I buy in bulk (the cheap one "surelock") at Joanns for 3000 yds for $1.50 (with coupon) [Note: I am not worried about cheap thread "breaking" and making my baby fall, because I ran at least 8 lines of stitching to secure the straps to the body, not to mention it's tied and looped around multiple times]
Here are my notes, for my own future reference.
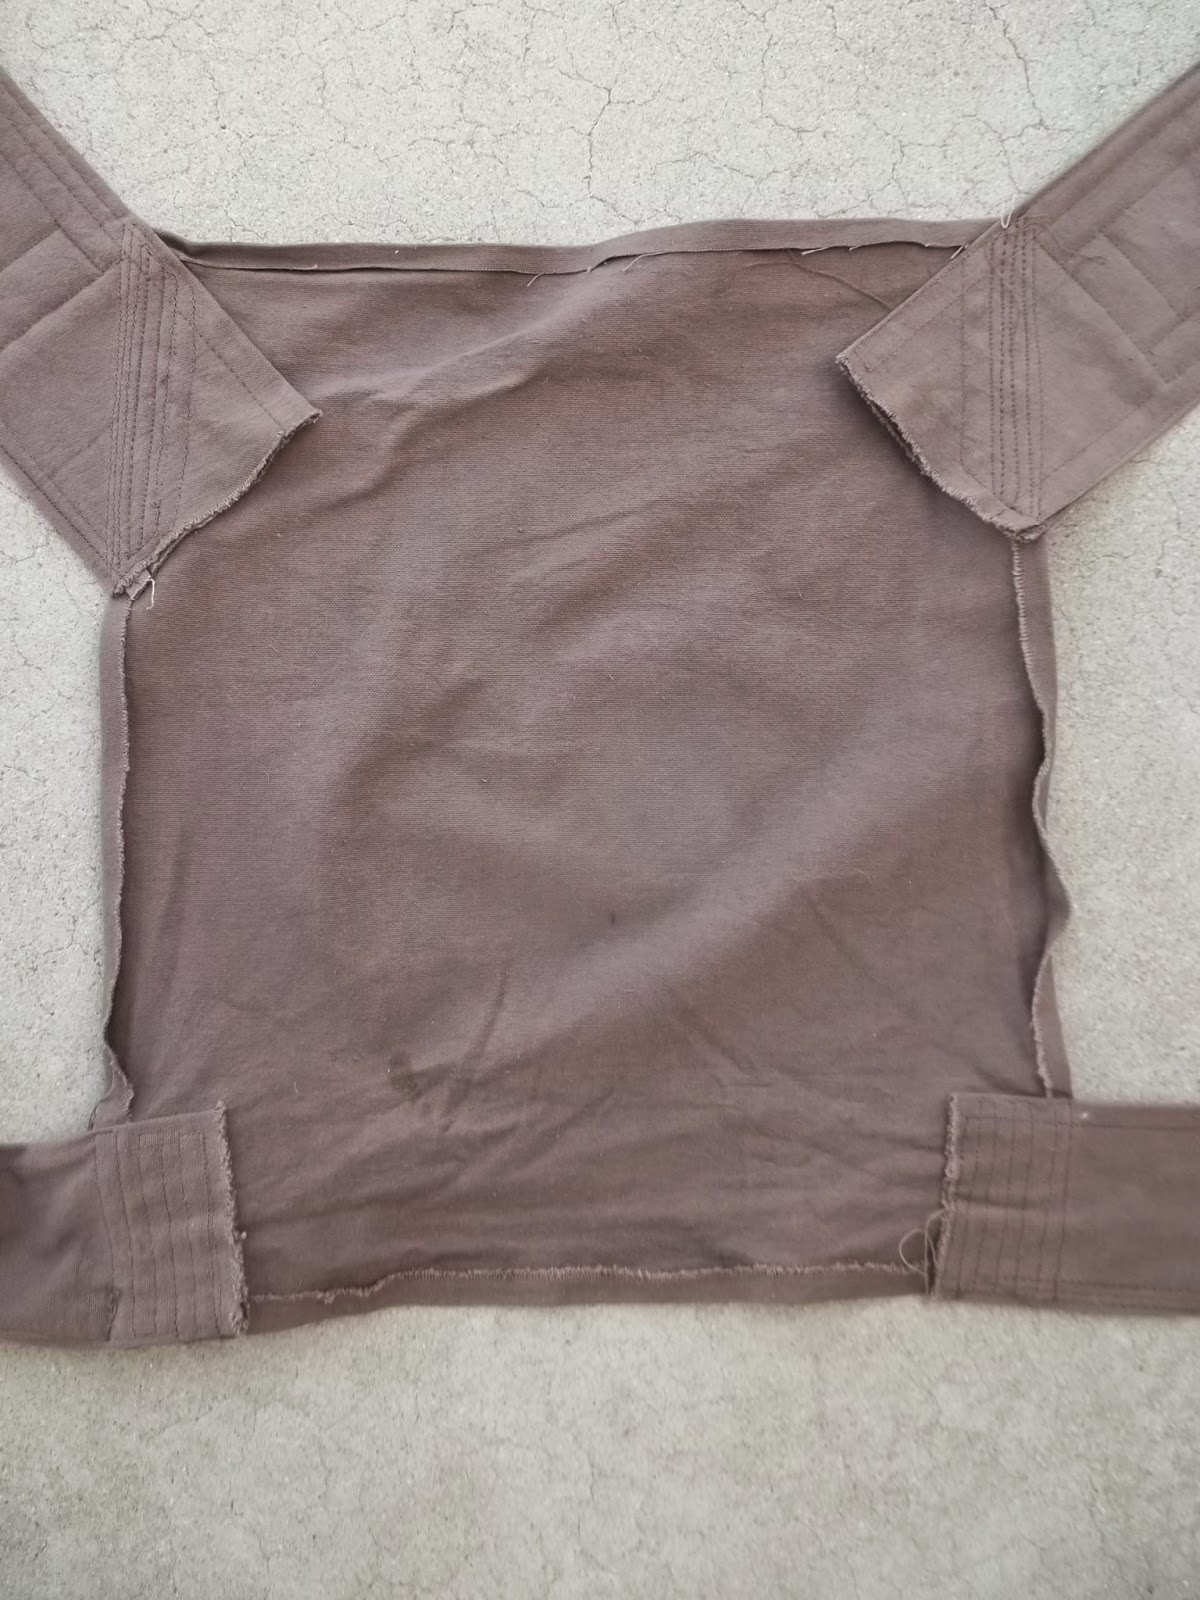
I roughly followed this general tutorial on making mei tai carriers, but changed things up a good bit.

First, I wanted a smaller baby carrier, one that was only 16" tall (and with the option of folding the bottom strap under to make it only 13" tall) Mostly because I prefer to carry small babies (under 1 year old), and because my babies really hate not being able to see the world, and hate baby carriers unless they have their head well above the top.
I wanted the shoulder straps to be 4" wide (so I cut 9" wide strips), and the waist straps to be 3" wide (so I cut 7" straps), and the padding was
just a single layer of fleece (3.5" x 27" for the shoulders, 2.5" x 12" for the waist straps)
 |
| Making the straps. The white stuff is the fleece for padding. |
 |
| The panels of the body of the carrier |
 |
| The gussied up front panel above, the back panel with the straps on below. |
 |
| Those straps aren't going anywhere. |

Here is the finished product. (Hannah, always remember to clean off the stencil with acetone nail polish remover, and remember to iron the tree with a cloth over it afterwards to set the paint!)

- A baby Lord of the Rings themed dress (since this baby could be a girl)
- A maternity/nursing (yayy multipurposing!) Lord of the Rings themed coordinating dress for myself.
- A baby Lord of the Rings themed boy outfit (since this baby could be a boy)
- Baby Elven cloaks!
- And if I'm REALLY up to it...I'm going to make a Tree-of-Gondor Mei Tai baby carrier...
This is really amazing. And I do love that it was inspired by Faramir's Ranger look-- I was always partial to that particular costume of his. :)
ReplyDeleteI have a vision of wrapping my little ones in a Tolkien Lotr map...one big map ring sling. But can't find a suitable material. Any ideas? Do you take orders?
ReplyDeleteThat is an awesome idea! I think I might try another Mei Tai carrier like that one day :)
DeleteAt this time I don't take orders (I've never taken commissions before), but I am flattered you asked :) Ring Slings are really easy to make, it's basically a length of fabric gathered to a ring on the end (there are lots of tutorials for that on the internet too). I personally don't like things pulling asymmetrically on my shoulders, but a lot of people have great success with them.
I do have a few ideas about putting them map on it. Firstly, with a baby carrier (especially a ring sling) you'll want a natural fiber. Linen (or a sturdy woven cotton) would be good, for the map I'm thinking a nice tan/oatmeal/or cream color. Although I have never used it, I think the simplest way to put a map on it would be a black fabric marker (Cation of cationdesigns has a recommendation on a fabric marker she used here http://cationdesigns.blogspot.com/2011/12/i-carry-your-heart-with-me-dress.html)
If that didnt' work, you could try doing a giant freezer paper stencil, in which you trace out the map on it, cut out the detail work with a utilitiy knife, and iron the whole thing onto the fabric, then sponge black fabric paint onto it.(if you look on my blog under the "freezer paper stencil" tag, there's some tutorials http://makingrivendell.blogspot.com/search/label/Freezer%20Paper%20Stencils. There are also lots of other freezer paper stencil tutorials on the internet)
In my experience, I wouldn't free hand the map on the fabric with fabric paint, as you get a lot more paint on the fabric with a brush than you do with a sponge. Since you will be wearing it, and want it to be flexible, I think less paint is better (and with black paint, a little goes a long way).
Have fun! It sounds really cool :)